Panopto is a video management system that allows instructors to upload, store, and organize their instructional videos in one place. This can make it easier for instructors to find and access the videos they need, as well as share them with their students. Panopto's video player includes features like the ability to search within videos using keywords and to add notes, bookmarks (table of contents), and quizzes to videos. This can help students stay engaged with the material and improve learning outcomes.
The University's goal is to deliver the best media experience for students, but Marquette does not have unlimited video storage in Panopto. Videos stored in Panopto are subject to retention policies and storage limits. Center for Teaching and Learning staff will periodically review usage metrics and contact faculty about lesser-viewed content to determine if the video is still necessary or may be removed from Panopto. Implementing a retention policy for Panopto is necessary to meet two needs: one administrative, the other financial.
Downloadable Guide
Panopto Guide
Adding Videos to Panopto and D2L
Expand all | Collapse all
Quizzing in Panopto
Expand all | Collapse all
- First add a video to D2L using Add Existing Activities, insert stuff or Insert Quicklink.
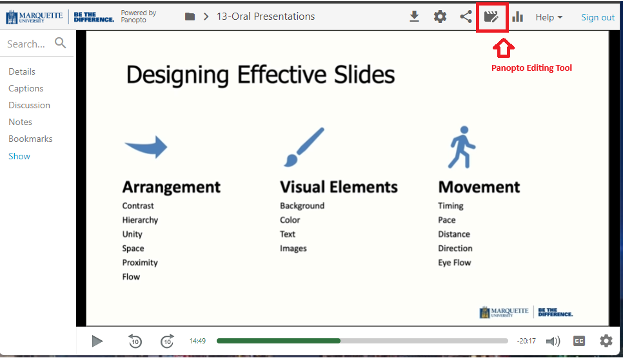
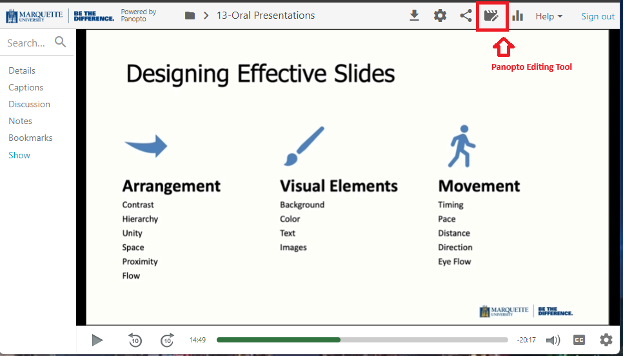
- Once the video is in D2L, Watch the Video in Panopto.

- In the Full Panopto Player you will see Icons on the upper right side of the screen, Select the Edit Icon.
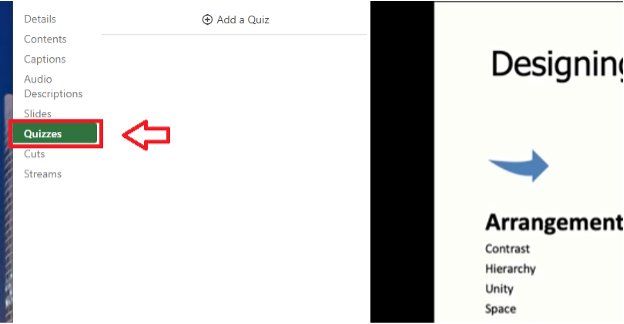
- In the Editor on the left-hand side of the screen, you will see the Quizzes Tab.
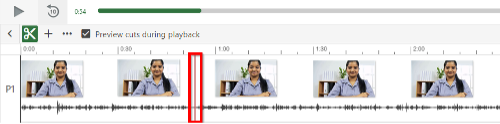
- Click in the timeline to navigate to the place in the video where you would like to insert a quiz. The red vertical line will indicate where the quiz will be added in the video.
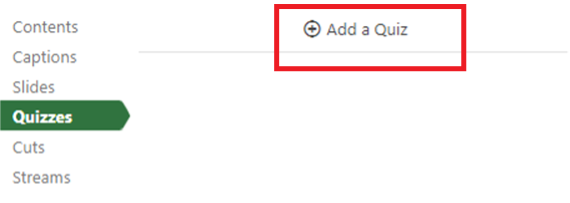
- In the left Navigation menu, select Add a Quiz.
- A quiz window will appear in your secondary stream window where you can fill in the details for your quiz.
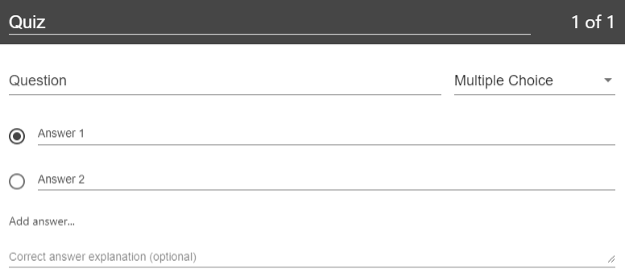
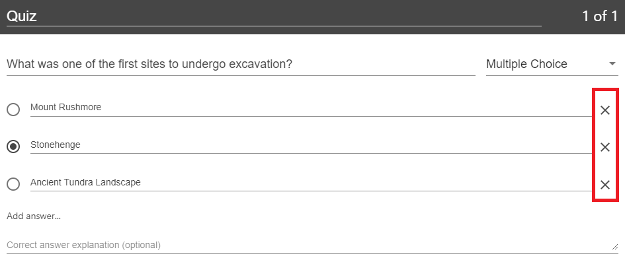
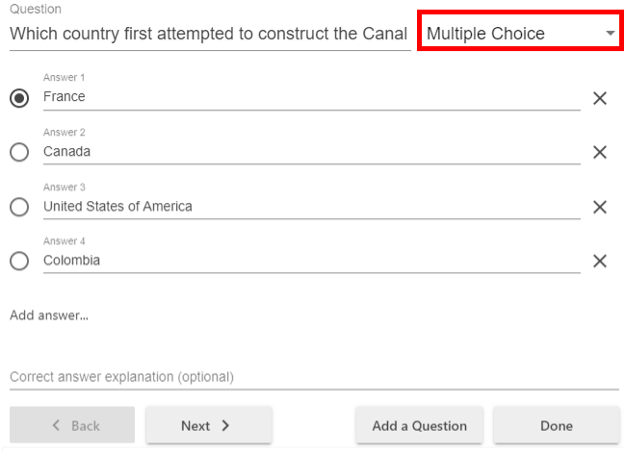
- Within the form, you can select the drop-down menu in the top right corner to show different types of quiz questions. The quiz options include True/False, Multiple Choice, Multiple Select, and Fill In the Blank. The default is multiple choice.

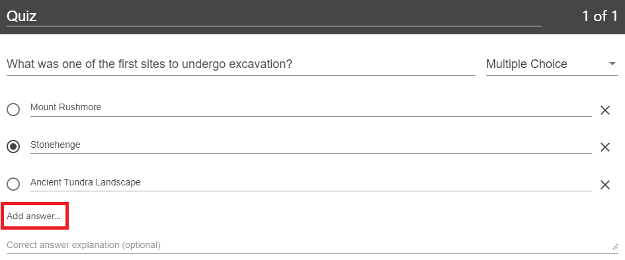
- Multiple Choice: Gives you the option to have several answers present, but only one answer can be chosen as correct. When the option is first chosen, there will only be two answer fields. Another answer field can be added by clicking the "Add Answer..." button. You need to have the correct answer selected before adding another question.
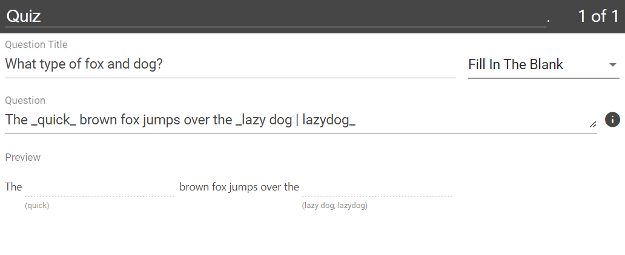
- Fill In the Blank: Gives you the option to ask questions that require users to fill in answers to the question. The prompt will ask for the correct answer to be provided. An underscore _ needs to be placed before and after the answer. For portions of the question where there are multiple possible answers for a blank space, insert a divider | between each potential answer. For example, if the phrase that must be completed is The quick brown fox jumps over the lazy dog, and the quiz taker must guess quick and then can guess either lazy dog or lazydog the Prompt section would be written as The _quick_ brown fox jumps over the _lazydog | lazy dog_, as pictured below. In the Preview section, you will see the possible answers listed and separated by commas.
- To remove an answer you can click on the X next to any of the answers.
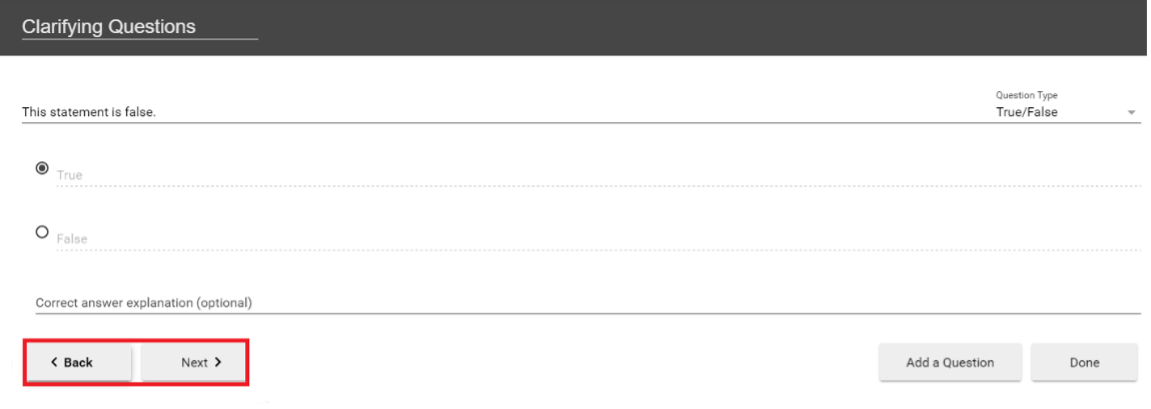
- Other quiz question types include True/False, which gives you the option to ask a True or False question. And Multiple Select, which gives you the option to have several answers present and more than one can be selected as correct. Note: when using multiple select, all correct answers must be selected by the viewer in order to be marked as a correct response.
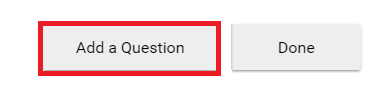
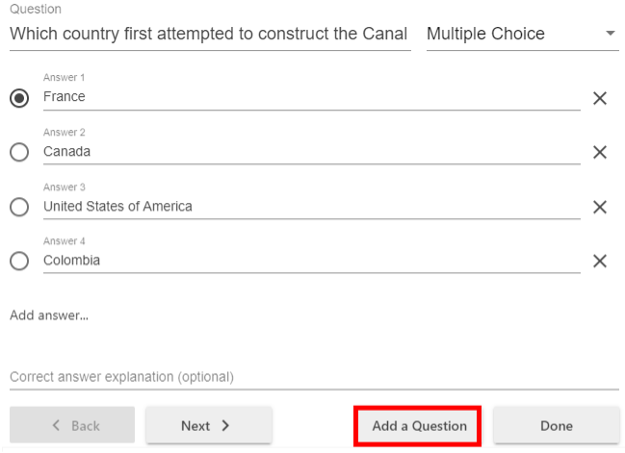
- Once you are done with a question and want to add another one, click the Add a Question button at the bottom of the form.
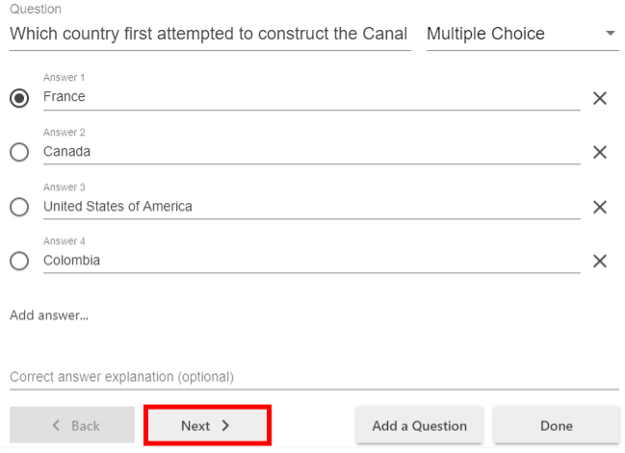
- If you need to navigate to a different question in your quiz, you can use the Back and Next buttons at the bottom of the form.
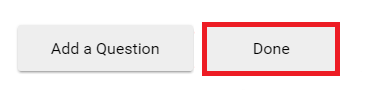
- Once you have added all your questions, click the Done button at the bottom of the form (Fig.10).
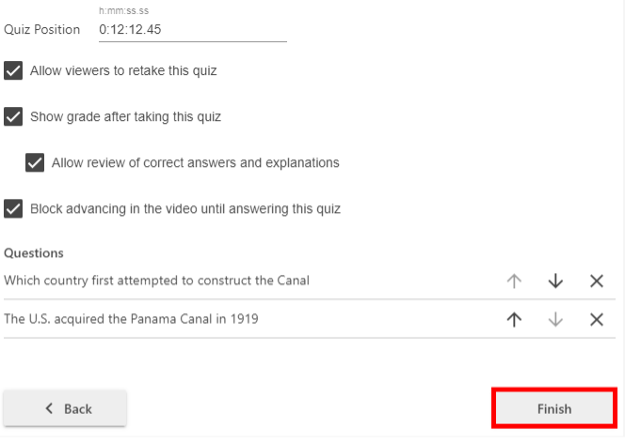
- You will then be directed to the Options page for this Quiz. In this page, you can:
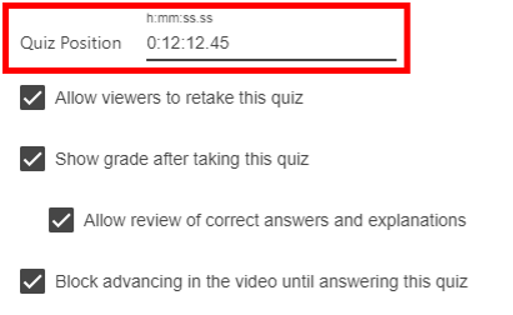
- Allow viewers to retake the Quiz. Please note: When this is enabled, Panopto can only retain a user's most recent score.
- Show grade after taking this quiz (If this is enabled you can also allow review of correct answers and explanations).
- Allow review of correct answers and explanations.
- Block advancing in the video until answering this quiz. Please note: This applies to viewers who have not yet completed the quiz. Once the quiz is completed, the viewer has the option to continue watching.
- Delete questions by clicking the Xs.
- Reorganize the questions by using the arrows.
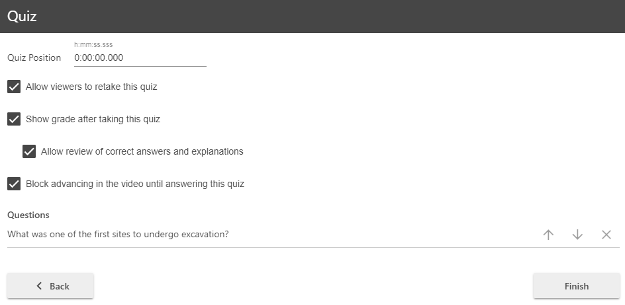
- Once you are finished, click the Finish button. The name of your quiz will now appear in the Quizzing pane.
- Repeat these steps for each quiz you want to add to your session. When you are finished, click Publish. During playback, when it is time for a Quiz the video will pause until the question(s) is/are answered.
Editing a Quiz in Panopto
If you need to correct an item in a quiz:
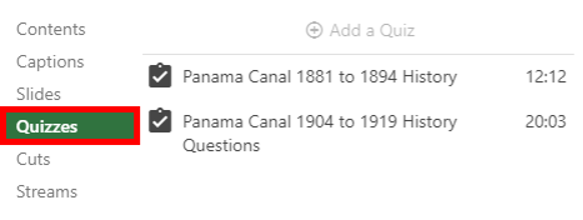
- Open your video in the Panopto video editor.
- Select the Quizzes tab from the left-hand navigation, then select the quiz you want to edit by clicking on it.
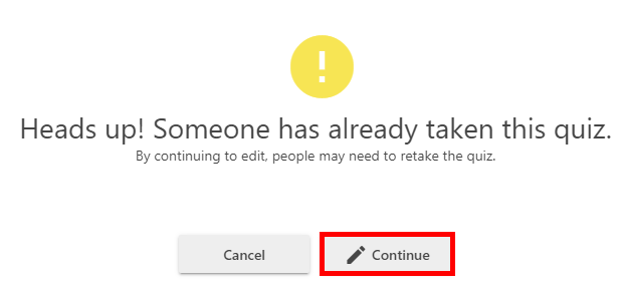
- If you attempt to edit a quiz that someone has already completed, you will receive a warning message that they may need to retake the quiz. Select the Continue button to proceed with editing.
- To edit the quiz name, questions, or text, simply click on the text you wish to change. The editor will open the quiz to the first question; to change which question you are on, select the Next > button in the bottom left-hand side.
- To add questions to your quiz, select the Add a Question button.
- You can change the question type by selecting the drop-down menu in the upper right-hand corner of the quiz. Note: If you change a multiple choice or multiple select question to a true or false question or fill in the blank, but do so on accident, your answers for the multiple choice or multiple select will be erased and you will need to type them back in.
- To edit your quiz options, including where it’s positioned in your video, or to save the changes made select the Done button.

- This will take you to the quiz options, where you can change the settings, you selected or deselected, reorder or remove a question, or adjust where the quiz appears in the video.
- To reorder your questions, use the up and down arrow icons to its right.

- To remove a question, select the X icon to its far right (Fig. 18).

- To adjust where your quiz appears in the video, make a note of the time stamp where you want the quiz to fall, and then type it in at the top of the page next to Quiz Position.
- To save your changes, select the Finish button at the bottom of the quiz window.
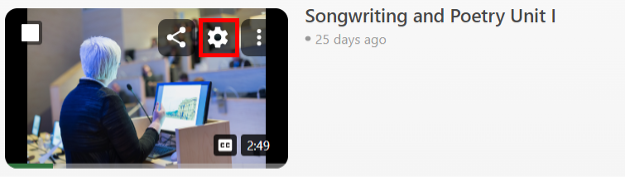
- To access the results of a quiz, hover over the video in the video library and select the Settings button that appears.
- On the left, click the Quiz Results tab to display the results.
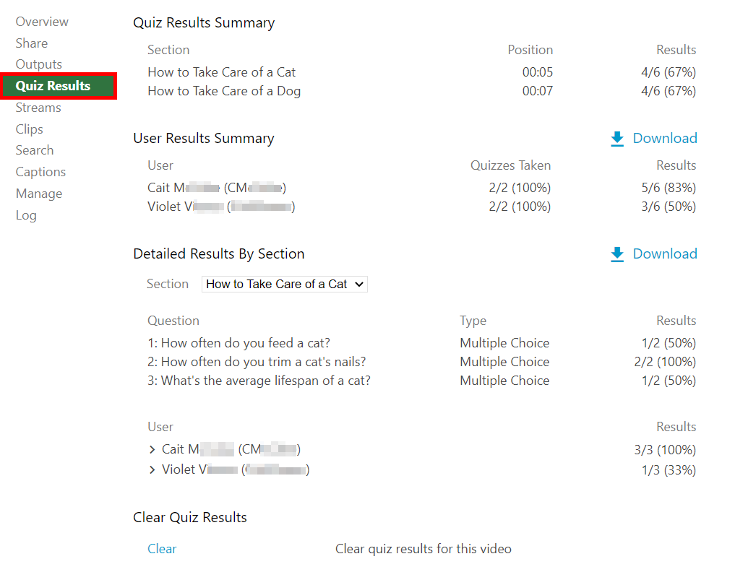
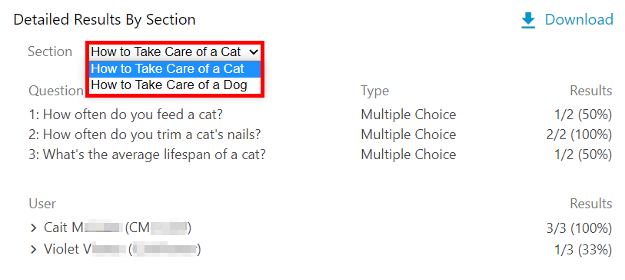
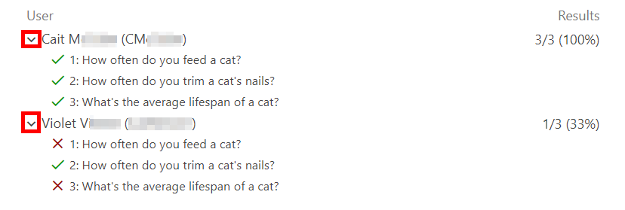
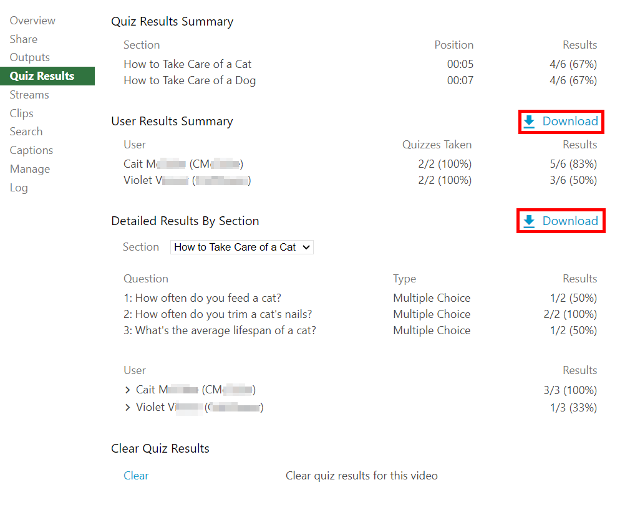
- From this tab, you can see Quiz Results Summary which shows the total number of correct answers and questions as well as the percentage correct for each quiz. You are also able to get a more detailed view of results by section. Click the Section drop-down to select which quiz section to drill into.
- You can see individual user results by selecting the arrow icon to the left of their name.
- The option Download appears to the right of the User Results Summary, which provides a summary of results per user, and Detailed Results by Section, which provides details on how each question was answered by a user. This will make it possible to convert the quiz results to .csv files including the username, quiz, question, response, and correctness. Note: This report includes up to 50 quizzes and their results. Any additional quizzes in a video will not be included in the report. Additionally, exporting quiz statistics will pull a user's last quiz attempt if they retake a quiz.
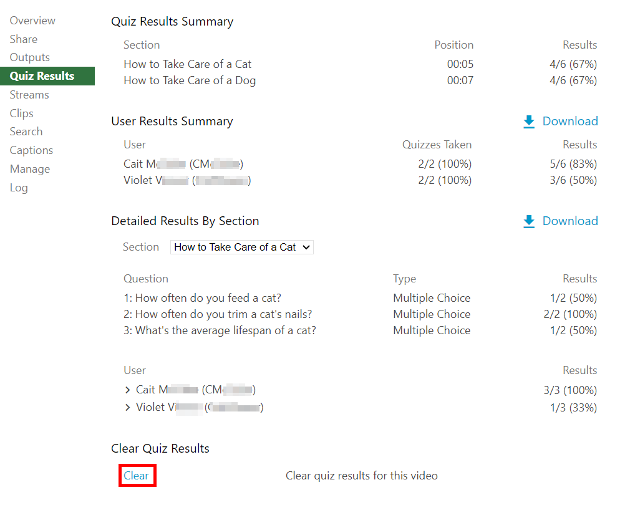
- Selecting Clear from the Clear Quiz Results section will clear all existing quiz results. Please note: Clearing quiz results will make any existing results unavailable. If you will need to refer to the original results in the future, please download them prior to selecting Clear.
Using Panopto Bookmarks and Discussions tools
Bookmarks
Expand all | Collapse all
Discussion Tools
Viewers can add comments, start discussions, and reply to each other on the Discussion tab in the Panopto Viewer. In this article, learn how to add, edit, delete, and reply to comments made in the Discussion tab.
Expand all | Collapse all
- In the Viewer, select the Discussion tab from the left-hand navigation.
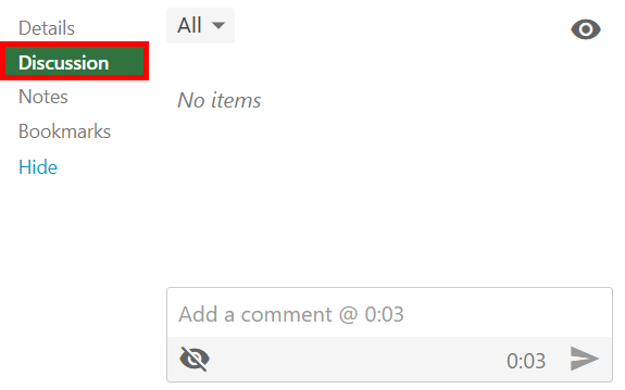
- On the Discussion tab, a textbox displays Add a comment with a timestamp where the comment will be added. Write your comment in this textbox and select the Send icon or hit enter. Your comment will appear in the Discussions tab at the timestamp indicated.
Replying to a Comment: You can reply to comments made by other users. Select Reply under another user's comment. The textbox will display Add a reply. Once you are done typing your reply, select the Send icon, or hit enter.
Moderating Discussion Threads
- Toggle between All, Public, or Private comment threads: Select the drop-down menu that appears in the upper left corner of the Discussions tab and select which comments you'd like to view.
- Change the Default Comment Privacy Setting: In the upper right-hand corner of the Discussion tab, select the eye icon. A menu will appear with the following options:
- Threads are visible to all by default: This is the default privacy setting, which allows users to change whether their comments appear privately or publicly, as described in step 2.1. above.
- Threads are hidden unless approved by moderator: When selected, all comments submitted must be reviewed by the Creator(s) of the video or an Admin before they are added to the Discussion tab. Note: Any public comments made previously will remain public, unless the moderator manually changes them, as described in step 2.1.a., above.
How to add a Panopto Quiz to the D2L Gradebook
Expand all | Collapse all
Using the Panopto Recorder
Expand all | Collapse all
Download the Panopto Recorder
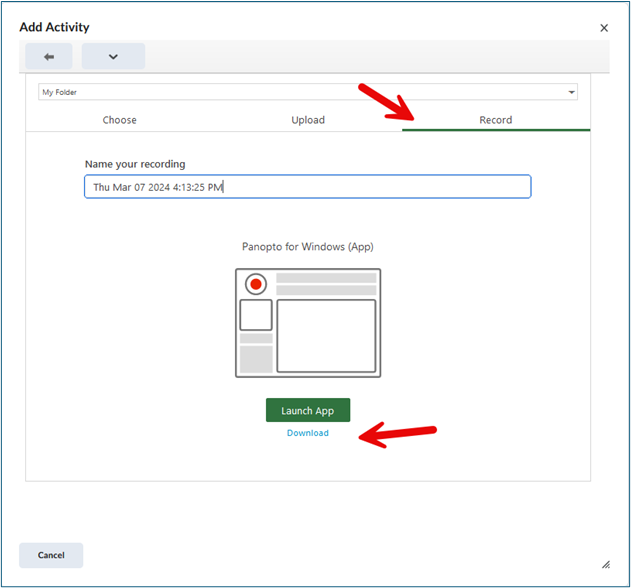
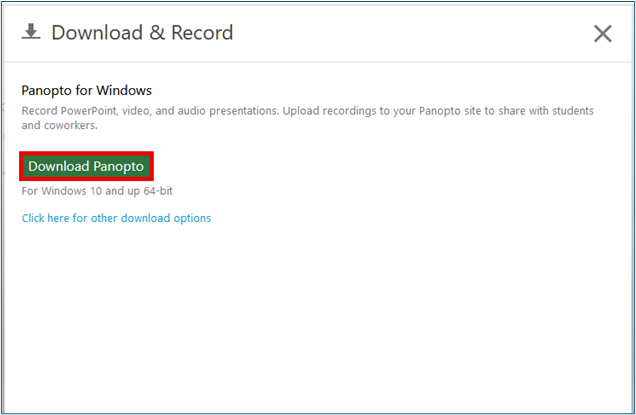
- Once you access Panopto in D2L, select the Record tab. Click the Download link and then the Download Panopto button.
Using the Panopto Recorder
- Navigate to the Record tab
- Enter the name for your recording in the ‘Name your recording’ field.
- Click the Launch App
- The recorder should open automatically. Otherwise, it may prompt you to click Open Link to launch Panopto for Windows.
- Click the Record button after you make your selections for secondary sources to record.
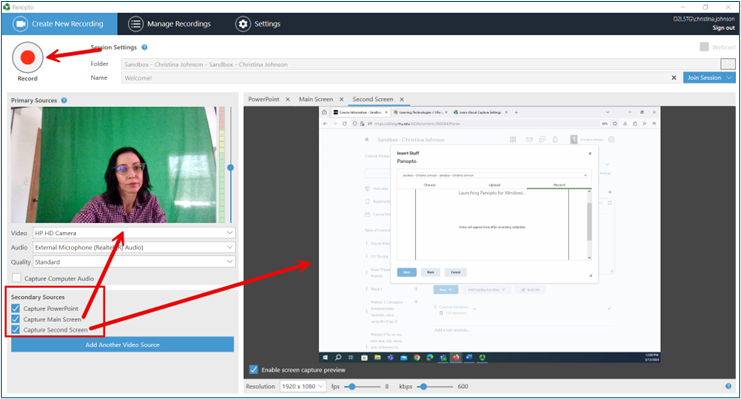
- Click the Stop button when done.
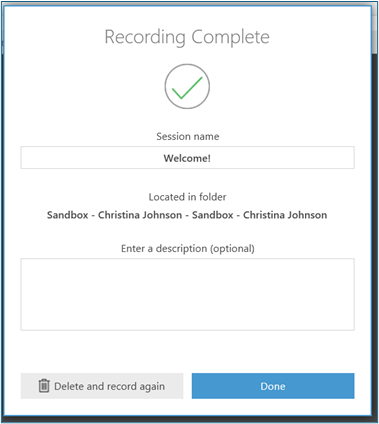
- A pop-up message will appear to confirm completion of recording. Select Done or Delete and record again.
-
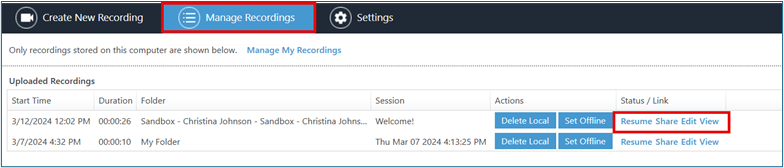
Manage Recordings in the Panopto Recorder
- In the Panopto Recorder, select Manage Recordings from the navbar.
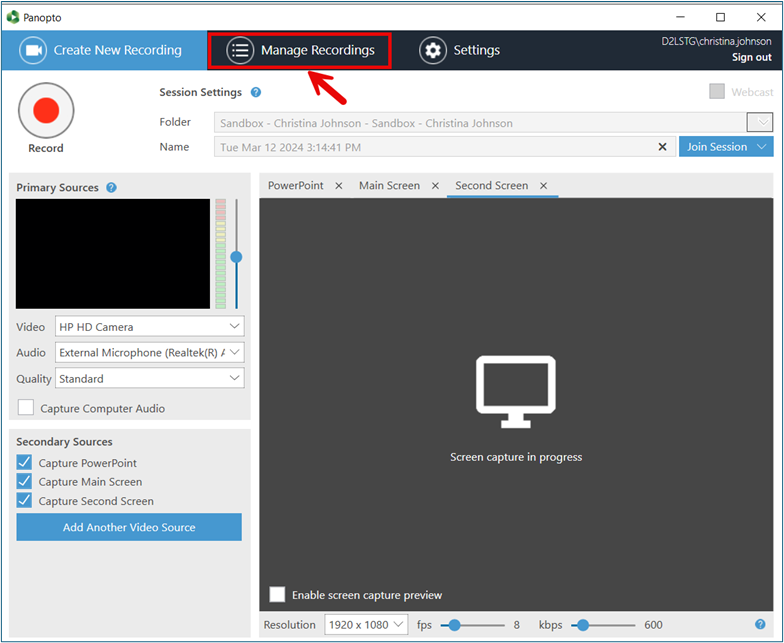
- In Manage Recordings, refer to the links in the Status/Link column: Resume, Share, Edit, or View the recording